Introduction
Delta's ASDA-A2 and ASDA-A3 servo drive series are widely deployed in packaging machinery, CNC tools, semiconductor pick-and-place equipment, and robotic assembly lines across the global industrial automation market. The ASDA-A2 covers a power range from 100 W to 7.5 kW with a 20-bit encoder, while the newer ASDA-A3 pushes bandwidth to 3.1 kHz, adopts a 24-bit absolute encoder, and supports full-closed-loop control. Both series share a common alarm code structure displayed on the seven-segment LED panel, making field diagnosis systematic once you know what each code means. When a production line stops, every minute of downtime costs money, and technicians who can quickly identify the alarm code, trace the root cause, and apply the correct fix are invaluable.
For genuine Delta servo drives and motors, visit our Delta servo drive collection and Delta servo motor collection.
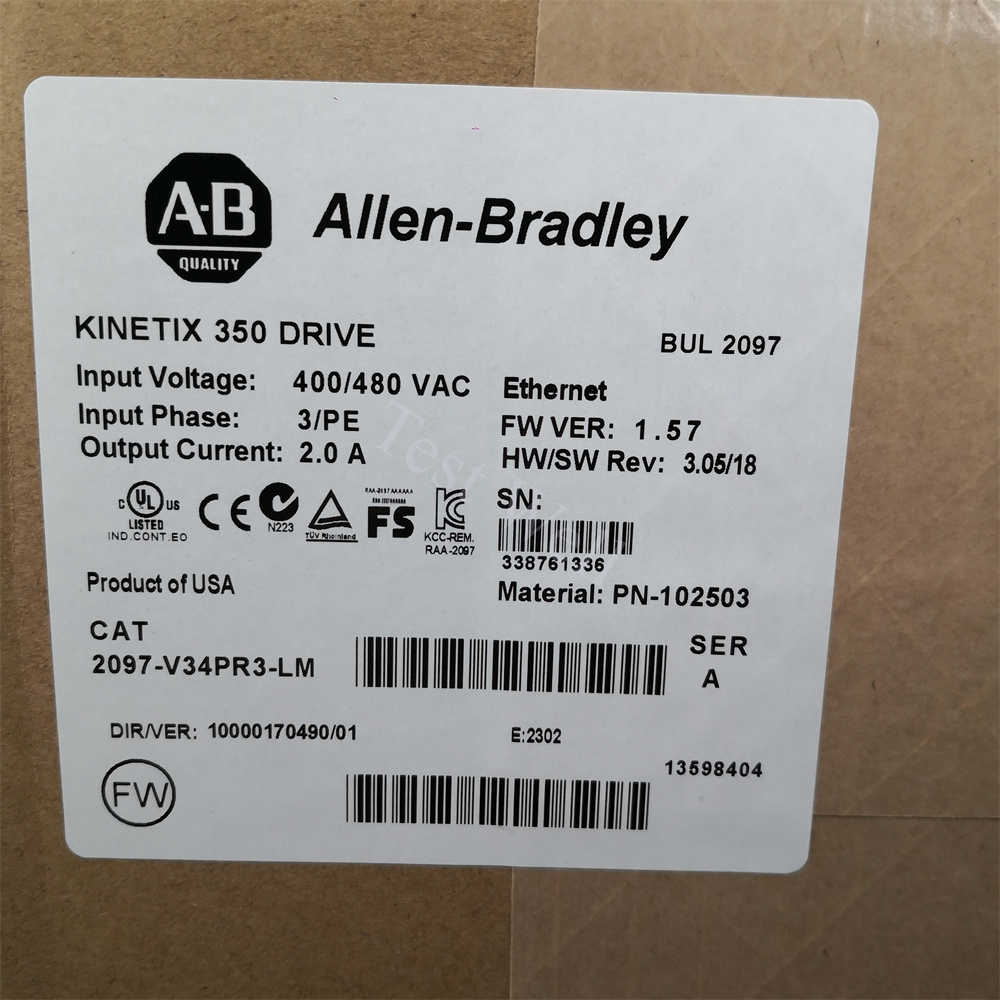
Common Alarm Codes: Fault Manifestations, Root Causes & Repair Steps
AL001 — Overcurrent
Fault Manifestations: The drive trips immediately upon power-on or during acceleration, displaying "AL001" on the LED panel. The motor may jerk or produce a loud hum before the drive cuts output.
Root Causes:
- Short circuit between motor windings (U, V, W) or between a phase and the motor frame
- Incorrect motor wiring — terminals U/V/W swapped or grounded
- IGBT power module failure inside the drive
- Parameter P1-00 (control mode) or torque limit set incorrectly, causing excessive current demand
- Mechanical load jammed or seized, forcing the drive to push maximum current
Repair Steps:
- Power off the drive and disconnect the motor cables. Use a megohmmeter to measure insulation resistance between each phase (U–V, V–W, U–W) and between each phase and ground. Resistance below 1 MΩ indicates a winding fault; replace the motor.
- Verify wiring against the ASDA-A2/A3 user manual. Ensure no bare conductor is exposed at terminal blocks.
- If the motor and wiring are good, reconnect and run the drive with no load. If AL001 persists, the IGBT module is likely damaged — return the drive to Delta or an authorized repair center.
- Check parameter settings: reset to factory defaults (P2-08 = 10) and reconfigure one parameter at a time to isolate the culprit.
AL002 — Overvoltage
Fault Manifestations: The drive alarms during deceleration or when the motor is regenerating energy back into the DC bus. The LED shows "AL002."
Root Causes:
- Regenerative resistor not connected, incorrectly sized, or open-circuit
- Input voltage from the main circuit exceeds the rated range (e.g., 230 V supply on a 220 V drive, or line voltage swell)
- Deceleration time set too short, causing rapid regeneration that overcharges the DC bus capacitors
- Parameter P1-52 (regenerative resistor value) or P1-53 (regenerative resistor capacity) misconfigured
Repair Steps:
- Measure the main circuit input voltage with a voltmeter. Confirm it is within the rated range printed on the drive nameplate (±10%).
- Inspect the regenerative resistor wiring between terminals P and C (or P and D for internal resistor). Measure resistance across the resistor — an open circuit means replacement is needed.
- Recalculate the regenerative resistor value using the formulas in the Delta manual. Update P1-52 and P1-53 accordingly.
- Increase the deceleration time parameter (P1-02 for speed mode, or the PR-mode deceleration setting) to reduce regeneration energy rate.
AL003 — Undervoltage
Fault Manifestations: The drive displays "AL003" when the main circuit DC bus voltage drops below the rated threshold. The motor may stall or fail to start. On the ASDA-A3, AL003 defaults to a warning but can be configured as an alarm via P2-066 [Bit 9].
Root Causes:
- Input voltage sag or momentary power interruption
- Wrong power system (e.g., single-phase 110 V connected to a 220 V drive)
- Loose terminal connection on the L1/L2/L3 input
- Rectifier bridge diode failure in the drive's input stage
Repair Steps:
- Check input wiring for tightness at L1, L2, L3 (or L1, N for single-phase). Re-torque any loose screws.
- Measure the input voltage at the drive terminals under load. If voltage is below the rated range, install a voltage stabilizer or transformer.
- Cycle power to the drive. If AL003 clears after restoring proper voltage, the issue was external. If it persists with correct input voltage, the internal rectifier or DC bus capacitor may be degraded — professional repair is required.
- For ASDA-A3, check P2-066 [Bit 2] setting: if set to 0, the alarm requires manual reset via DI.ARST after voltage returns; if set to 1, it auto-clears.
AL005 — Regeneration Error
Fault Manifestations: The drive reports "AL005" during deceleration or vertical-axis lowering. Unlike AL002 (bus overvoltage), this alarm specifically flags the regenerative circuit itself as abnormal.
Root Causes:
- External regenerative resistor not connected when P1-53 is set to a non-zero value
- P1-53 (resistor capacity) set to zero while a resistor IS physically connected — the drive ignores it and the bus overcharges
- Regenerative transistor (inside the drive) failed open or shorted
Repair Steps:
- Verify P1-52 and P1-53 match the installed resistor. If no external resistor is installed, set P1-53 to 0.
- If using the built-in resistor (on drives 400 W and above), confirm the jumper between P and D is intact.
- Measure the resistor ohms across P–C. If the resistor reads open, replace it with one of equal or higher wattage and the same resistance value.
- If the alarm persists with correct resistor and parameters, the internal regen transistor is likely damaged — the drive needs factory service.
AL006 — Overload
Fault Manifestations: "AL006" appears after the motor runs under load for a sustained period. The drive may have been running normally for hours before tripping.
Root Causes:
- Mechanical load exceeds the motor's rated torque continuously (e.g., a jammed conveyor, oversized workpiece, or seized bearing)
- Acceleration/deceleration time constants set too aggressive, causing transient current spikes that accumulate heat
- Motor and encoder wiring error (U/V/W mismatch with encoder phase)
- Encoder feedback degraded — the drive cannot properly commutate, increasing current draw
Repair Steps:
- Set P0-02 to 11 to monitor average motor torque on the LED display. If the value consistently exceeds 100%, the load is too heavy — either reduce the mechanical load or upgrade to a higher-capacity motor/drive combination.
- Check for mechanical binding: disconnect the motor coupling and rotate the load by hand. Any resistance indicates a bearing, guide, or gearbox issue.
- Increase acceleration and deceleration time parameters. A rule of thumb: double the time constant and re-test.
- Verify motor U/V/W wiring matches the encoder phase sequence. Incorrect pairing causes the drive to fight itself, drawing excessive current.
AL007 — Overspeed
Fault Manifestations: "AL007" triggers when the motor's actual speed exceeds the allowable deviation from the command speed (set by P2-034 on ASDA-A2 / P2.034 on ASDA-A3).
Root Causes:
- Analog speed command voltage spiking or unstable (noise on the speed reference signal)
- P2-034 (allowable speed deviation) set too narrow for the application
- Torque limit enabled at a very low value, causing the motor to overspeed when load suddenly drops
- Speed loop gain too high, inducing oscillation
Repair Steps:
- Use an oscilloscope to monitor the analog speed command input. If spikes are present, install a low-pass filter or enable the built-in filter function in the drive.
- Increase P2-034 to a wider allowable band (e.g., from default 50 rpm to 100 rpm) if the application tolerates it.
- Check torque limit settings (P1-12 through P1-14). Set them to 100% unless your application specifically requires limiting.
- Reduce speed loop gain if the motor is hunting/oscillating around the command speed.
AL011 — Encoder Error
Fault Manifestations: "AL011" appears when the encoder signal is lost, corrupted, or intermittent. The motor may run rough or fail to hold position.
Root Causes:
- Encoder cable connector (CN2) loose or corroded
- Encoder cable broken internally (common after repeated flexing on moving axes)
- Encoder cable routed alongside motor power lines, picking up EMI
- Encoder itself damaged (broken glass disk, failed LED/photo-detector inside)
Repair Steps:
- Power off. Remove and re-seat the CN2 encoder connector. Inspect pins for corrosion or bent contacts.
- Check encoder cable continuity with a multimeter. If any conductor is open, replace the cable with a shielded, twisted-pair type rated for flexing (drag-chain compatible).
- Route the encoder cable at least 20 cm away from motor power cables. If they must cross, cross at 90° angles.
- If all wiring checks pass but AL011 persists, the encoder is internally damaged. On the ASDA-A2, the motor must be replaced (encoder is integral). On the ASDA-A3, some motors allow encoder replacement — consult the motor datasheet.
AL016 — IGBT Temperature Error
Fault Manifestations: "AL016" indicates the IGBT heat sink temperature has exceeded the safe limit (typically 85–90°C). The drive may run normally at low speed but trip when load increases.
Root Causes:
- Cooling fan blocked, stalled, or failed
- Drive installed in a sealed cabinet with insufficient ventilation
- Continuous overload (see AL006) raising IGBT junction temperature
- Dust buildup on the heat sink fins reducing thermal dissipation
Repair Steps:
- Check the drive's cooling fan: with power off, spin the fan blade by hand. If it resists or rattles, replace the fan (Delta part number varies by drive frame size).
- Clean the heat sink fins with compressed air (wear safety glasses). Ensure no debris blocks airflow paths.
- Verify cabinet ventilation: the ambient temperature around the drive should not exceed 45°C. Add cabinet fans or an air conditioner if needed.
- If the overload condition caused the temperature rise, address the load issue per AL006 steps before restarting.
AL023 — Pre-Overload Warning
Fault Manifestations: "AL023" is an early warning before AL006 (full overload) triggers. The drive continues running but flashes the alarm code. This is your window to take corrective action before a hard stop.
Root Causes:
- Load approaching but not yet exceeding rated torque
- Intermittent mechanical drag (e.g., a bearing starting to seize)
- Parameter P1-56 (pre-overload warning level) set too sensitive for the application
Repair Steps:
- Monitor P0-02 = 11 (average torque). If torque is climbing toward 100%, investigate the mechanical system for increasing friction or binding.
- If the warning is nuisance-tripping in a valid application, increase P1-56 (pre-overload warning level) or set it above 100 to disable the function entirely.
- Do not ignore repeated AL023 warnings — they predict imminent AL006 trips. Schedule maintenance on the axis producing the warning.
Preventive Maintenance Schedule
| Interval |
Task |
Details |
| Monthly |
Clean heat sink and fan |
Blow compressed air through the drive ventilation slots. Replace fans that make bearing noise. |
| Quarterly |
Tighten terminal screws |
Re-torque U/V/W, L1/L2/L3, and encoder connector screws. Vibration loosens them over time. |
| Quarterly |
Check parameter backup |
Use ASDA-Soft software to read and save all parameters. Keep a backup on a network drive. |
| Semi-annually |
Inspect cables |
Check motor power and encoder cables for abrasion, especially in drag-chains. Replace before failure. |
| Annually |
Measure insulation |
Megger the motor windings to ground. Below 1 MΩ indicates deterioration; plan motor replacement. |
| Annually |
Verify regenerative resistor |
Measure resistance across P–C. Drift beyond 10% of rated value means replacement. |
Frequently Asked Questions
Q: Can I use an ASDA-A2 motor with an ASDA-A3 drive?
A: Yes. The ASDA-A3 was designed with backward compatibility and supports both ECMA (A2) and ECM-A3 series motors. However, to benefit from the A3's 24-bit absolute encoder, you must use an ECM-A3 motor.
Q: How do I clear an alarm after fixing the issue?
A: Most alarms are cleared by cycling the DI.ARST (alarm reset) digital input, which is typically wired to a normally-closed contact. You can also write 0 to parameter P0-01. Some alarms (AL004 motor combination error, AL017 EEPROM error) require a full power cycle.
Q: My ASDA-A2 shows AL023 frequently but the motor runs fine. Should I worry?
A: AL023 is a pre-overload warning. If it trips frequently even though production seems normal, your motor is running closer to its torque limit than you think. Either increase motor capacity, reduce load, or raise P1-56 to adjust the warning threshold. Ignoring it risks an eventual AL006 hard stop.
Q: What is the difference between AL002 and AL005?
A: AL002 means the DC bus voltage is too high (the symptom). AL005 means the regenerative circuit itself is malfunctioning (a specific cause). AL002 can be caused by AL005, but AL002 can also occur with a working regen circuit if deceleration is too fast or input voltage is high.
Q: Where can I source replacement Delta servo drives and motors?
A: Test Well Electronics stocks a range of Delta servo components. Browse our servo drive collection and servo motor collection for compatible models, or contact us for specific part numbers.
This guide is based on the official Delta ASDA-A2 and ASDA-A3 Series User Manuals. Always consult the manual specific to your drive model number and firmware revision before performing repairs.
By Jennifer Zhang


